You want, for example, to administrate only those workers in the ALS who are to have access to the ALS.
![]() To define the data for the workers, call up the 'User' function in the master data module. The 'workers' are listed at the top of the 'Workers/users' page. Click on this symbol
To define the data for the workers, call up the 'User' function in the master data module. The 'workers' are listed at the top of the 'Workers/users' page. Click on this symbol ![]() to enter the specifications for each 'worker'.
to enter the specifications for each 'worker'.
![]() In the next step, change to the 'User groups' page. You have defined e.g. four user groups to carry out the tasks at hand:
In the next step, change to the 'User groups' page. You have defined e.g. four user groups to carry out the tasks at hand:
|
Administrators |
Tasks: user administration, machine connection, problem analysis, downloading updates to ALS |
|
Planners |
Tasks: defining new items, generating new orders, scheduling orders, checking the progress of orders |
|
Set-up engineers |
Tasks: administration of machine programs, transfer of orders to machine, commenting on orders, maintaining maintenance plans for machine and peripherals |
|
Mould engineers |
Tasks: preparation of mould in accordance with set-up plan, maintenance of mould in accordance with maintenance plans, administration of maintenance plans. |
With this button ![]() you add a new group. Click on this button
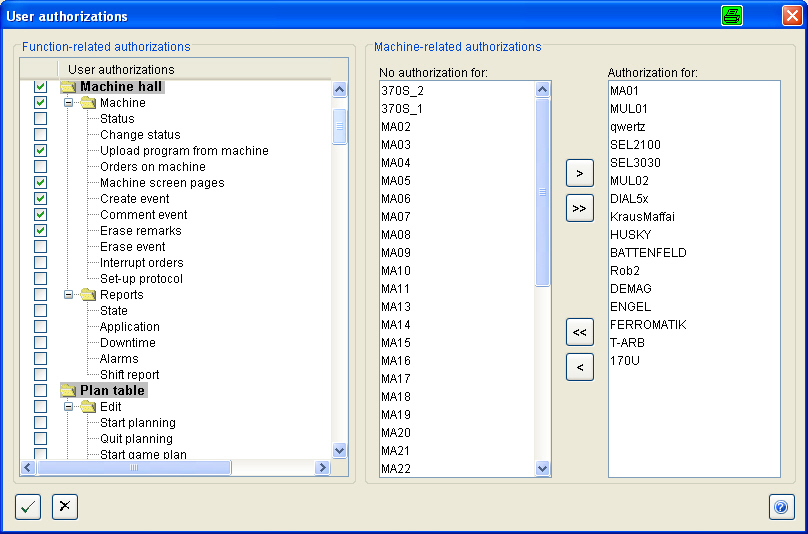
you add a new group. Click on this button ![]() to select a group from the list and call up the 'Authorisations' dialog. As users of the ALS, the 'mould engineers' do not need access to the machine programs or direct access to the machines. They do however require access to the plan table or order list, the maintenance module and the mould data in the master data.
to select a group from the list and call up the 'Authorisations' dialog. As users of the ALS, the 'mould engineers' do not need access to the machine programs or direct access to the machines. They do however require access to the plan table or order list, the maintenance module and the mould data in the master data.
If a password is required for a user to log on you should permit access to 'Master data -> user -> change password' in each user group.
![]() Select a worker from the list and generate
Select a worker from the list and generate ![]() an ALS user. We recommend using a user name from which each user can be easily recognised. Use e.g. the personnel number.
an ALS user. We recommend using a user name from which each user can be easily recognised. Use e.g. the personnel number.
Assign the user to a user group.
It is also advisable to safeguard the user accounts with passwords. Each user is first given a standard password which he must change after his initial log-on.
![]()